
Travel Photography Tips: How to Improve Light & Composition
A great photograph has the power to transport us—to evoke the sights, sounds, and emotions of a distant place in a single frame. The best travel images don’t just capture a scene; they tell a story, inviting viewers to step into the moment and wonder about its origins.
Great travel photography isn’t just about what you see; it’s about what you feel. Light paints the mood, composition shapes the perspective, and together, they transform an ordinary snapshot into a masterpiece. Whether you’re wandering through ancient alleyways or standing atop a mountains peak, here’s how to craft images that don’t just document your journey but truly bring it to life.
1. Master Composition
• Rule of Thirds: Divide your frame into nine equal sections and place your subject along the lines or intersections.
• Leading Lines: Use roads, rivers, fences, or architecture to naturally guide the viewer’s eye toward the subject.
• Framing: Utilize natural frames like windows, doorways, and arches to add depth and focus.
• Fill the Frame: Get closer to your subject to eliminate distractions and enhance details.
• Use Negative Space: Allow breathing room around your subject for a minimalist and impactful composition.
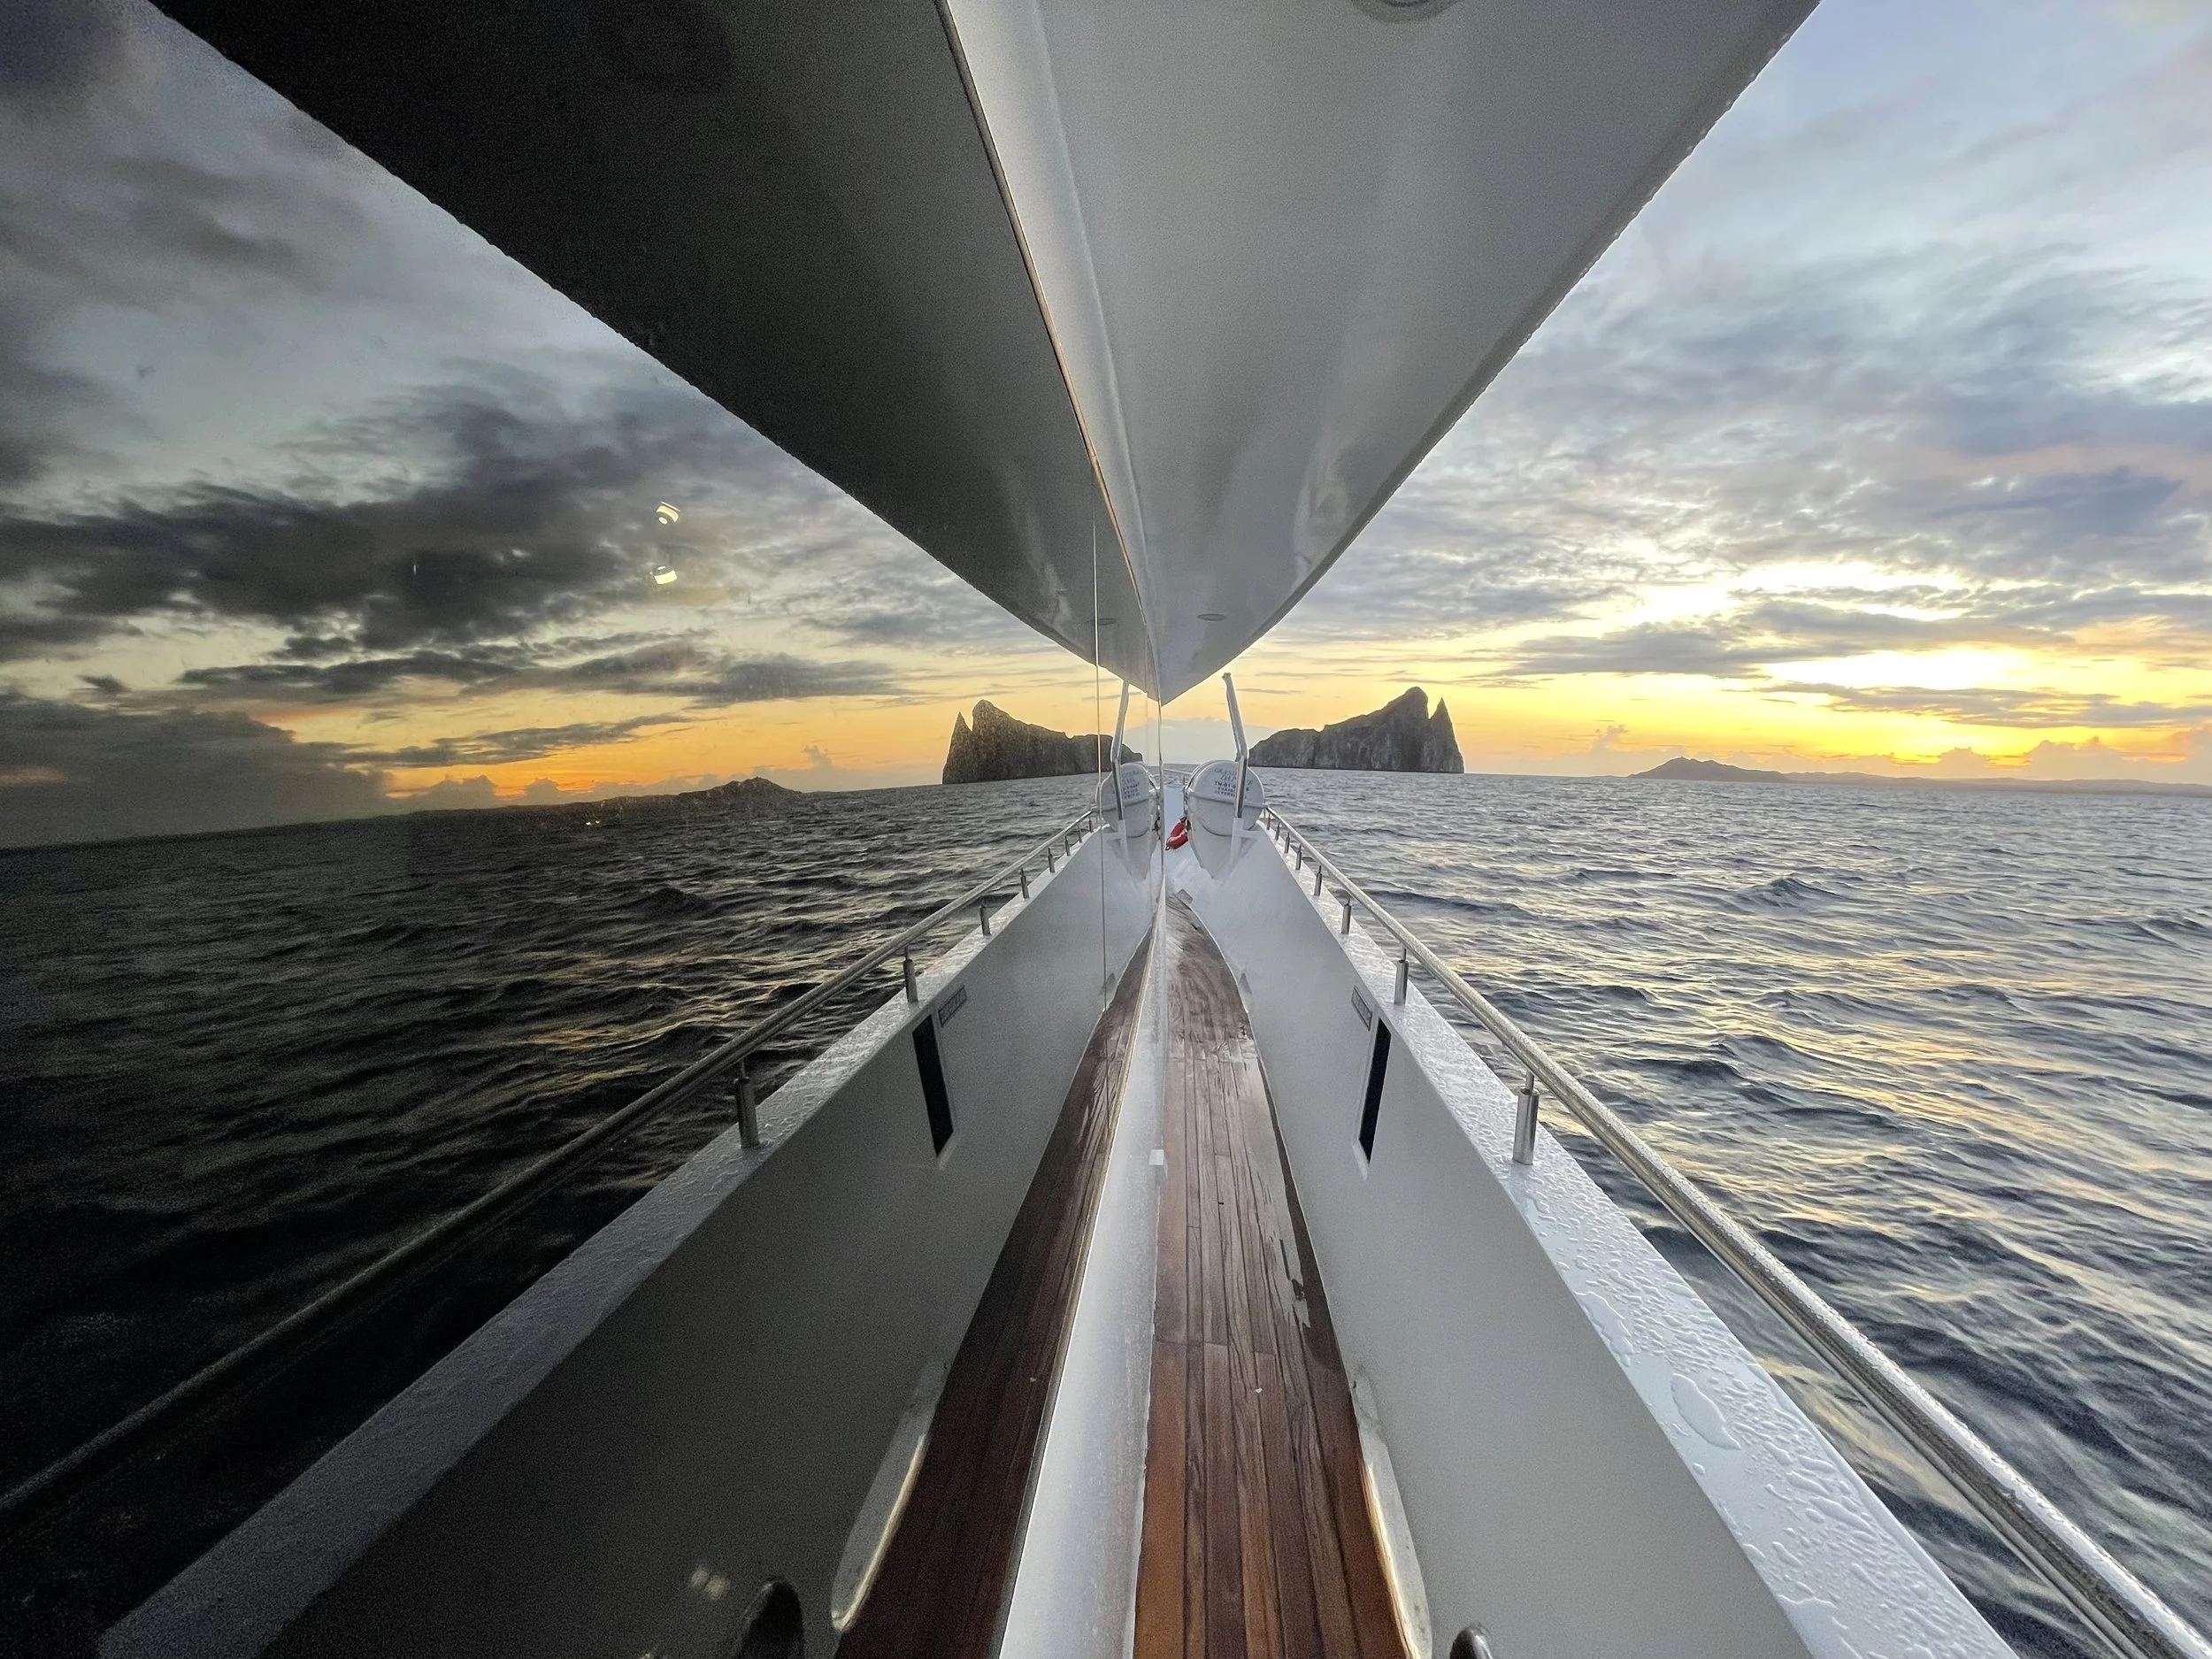
2. Understand Lighting
• Golden Hour: Shoot during sunrise or sunset for soft, warm lighting and long shadows.
• Blue Hour: Just before sunrise or after sunset offers moody, cool tones for cityscapes and night photography.
• Avoid Harsh Midday Sun: If unavoidable, use shade, diffusers, or backlighting techniques.
• Backlighting & Silhouettes: Shoot towards the light source for artistic silhouettes and glowing edges.
• Use Reflectors or Fill Light: When shooting portraits, use a reflector or flash to soften shadows.
3. Optimize Camera Settings
• Aperture (f/stop): Control depth of field.
• Wide aperture (f/1.8 – f/4): Blurry background for portraits.
• Narrow aperture (f/8 – f/16): Everything in focus for landscapes.
• Shutter Speed: Adjust for motion.
• Fast shutter (1/500s+): Freeze action (sports, wildlife).
• Slow shutter (1/30s or lower): Capture motion blur (waterfalls, night trails).
• ISO: Adjust for lighting conditions.
• Low ISO (100-400): Best for bright conditions with minimal noise.
• High ISO (800+): For low-light shots, but watch for grain.
4. Use the Right Gear
• Tripod: Essential for long exposures, landscapes, and night photography.
• Filters: Use polarizers to reduce glare and ND filters for long exposure effects.
• Prime Lens: Offers sharper images and better low-light performance.
• Zoom Lens: Versatile for travel and dynamic compositions.
5. Pay Attention to Backgrounds
• Look for Clean Backgrounds: Avoid clutter that distracts from your subject.
• Use Depth of Field: Blur out distractions with a wide aperture (f/2.8 – f/4).
• Change Your Angle: Move around to find the best backdrop for your subject.
6. Experiment with Perspectives
• Shoot from Different Angles: Try low-angle shots for dramatic effects or bird’s-eye views for unique compositions.
• Use Reflections: Water, glass, and mirrors create artistic compositions.
• Get Close: Macro photography captures fine details often missed.
7. Focus on Storytelling
• Capture Emotion: Expressions, gestures, and moments make images more compelling.
• Include Context: Show the environment to tell a richer story.
• Candid Shots: Natural, unposed moments often feel more authentic.
8. Post-Processing
• Shoot in RAW: Allows better flexibility in editing exposure, color, and sharpness.
• Adjust Exposure & Contrast: Enhance brightness and details subtly.
• Color Correction: Adjust white balance for a natural or creative look.
• Crop Thoughtfully: Improve composition but maintain image resolution.
9. Be Patient and Practice
• Wait for the Right Moment: Whether it’s lighting, movement, or expression, great photos often require patience.
• Take Multiple Shots: Experiment with different settings, angles, and perspectives.
• Analyze and Learn: Review your shots, note what works, and improve over time.